The Buddy Check for Hose Divers
BWRAF still applies, but a hose adds four items and changes three. The full sequence we run before every dive, in order, with the one step almost everyone skips.

The five-point buddy check is one of the genuinely good ideas in diving. It is short, it is done out loud, and it catches exactly the class of problem that a diver working alone will not notice about themselves. What it was not designed for is a hose. Three of its five points are about a cylinder, a valve and a pressure gauge, and on a surface-supply dive none of those exist. The check below keeps the rhythm of the original and replaces the cylinder items with the four a hose actually adds. Done properly it takes about ninety seconds. Done in the way most groups do it — two divers independently looking at their own kit and calling it finished — it takes forty and misses everything.
The sequence
- Unit: battery level, drain box empty, air intake clear, and the machine running before anyone kits up
- Hose: fully uncoiled, no kinks, quick-connect seated, run laid out from the entry point
- Harness and weights: fitted, sitting low, and both divers able to reach their own releases
- Hose path: agreed and walked on the surface, including the turns you plan to make
- Spare air: pressure read, regulator breathed from, mounting checked
- Signals: OK, problem, abort, and the direction of the surface unit
- Exit: where you will leave the water, and who is watching the unit while you are under
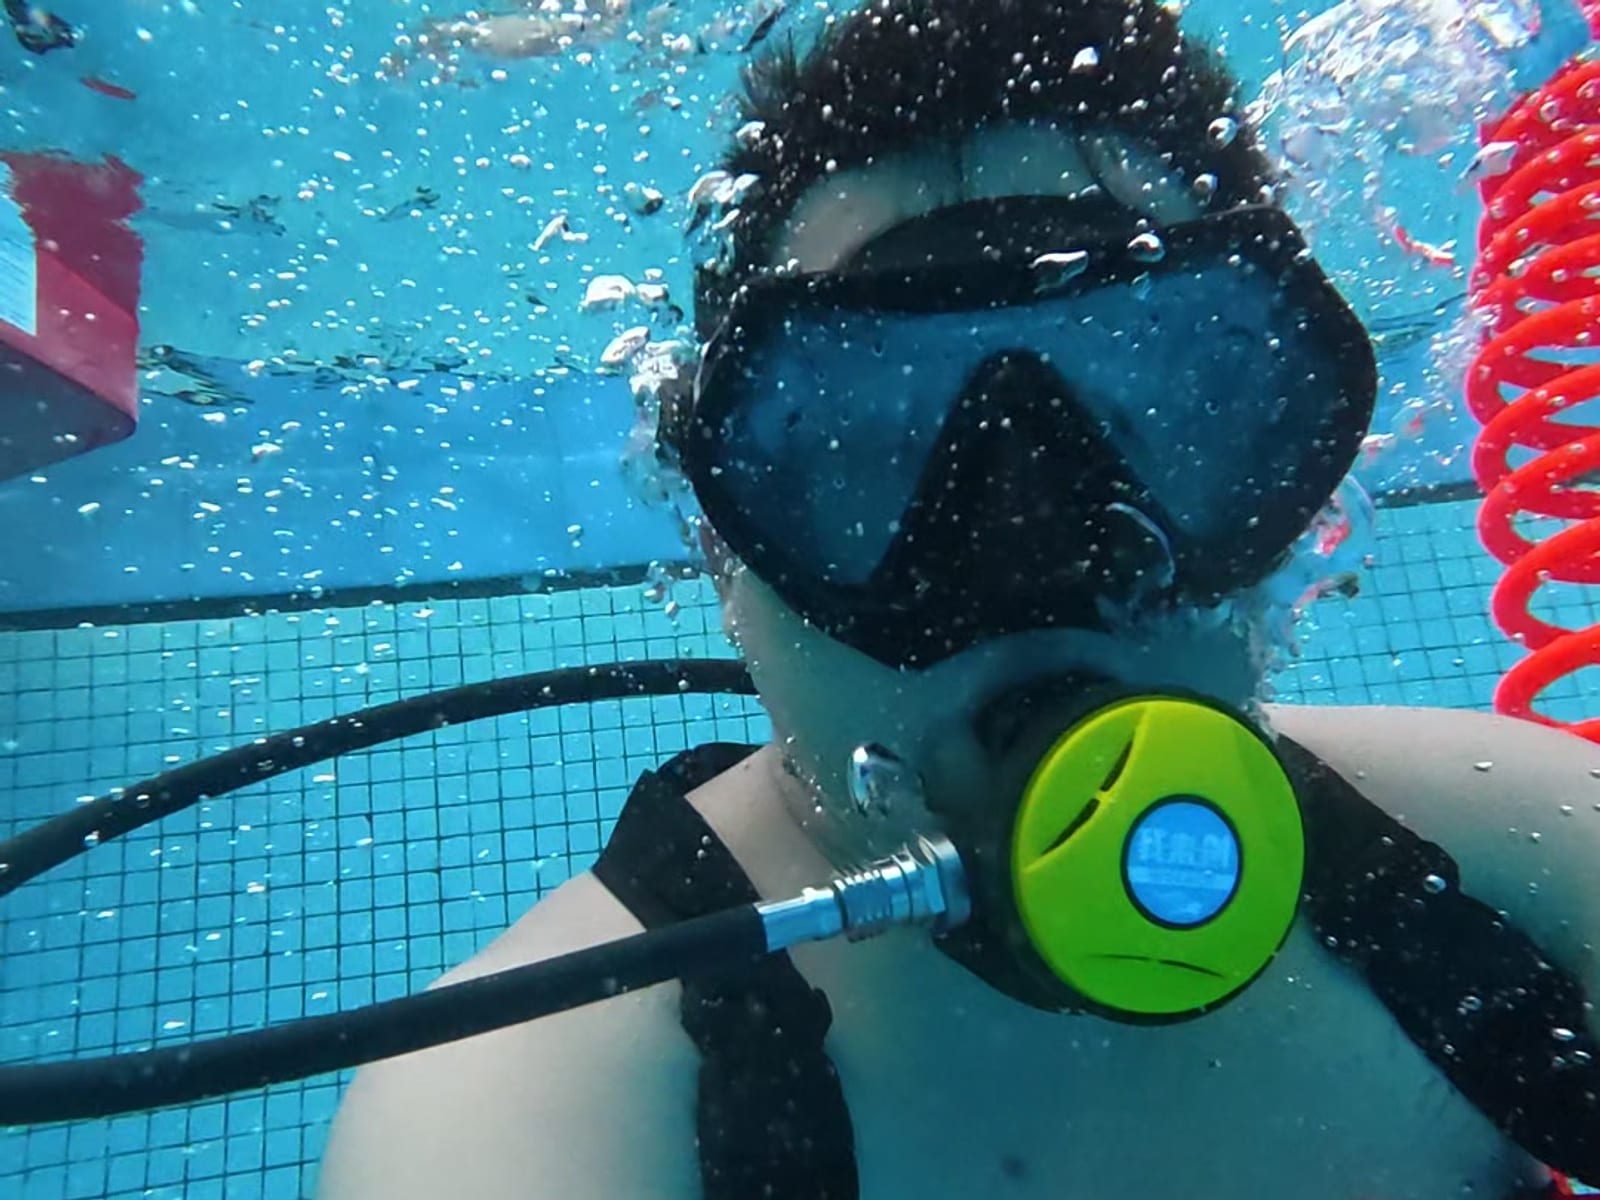
Check your buddy, not yourself
The most common failure of a buddy check is not skipping a step — it is performing it alone. A hose run that looks fine to the diver who laid it out can be obviously wrong to someone standing two metres away, and the whole value of the check is that second pair of eyes. So do it out loud, in order, with your partner physically touching the items rather than nodding at them. The check is not a recitation of a list; it is a look at actual hardware, and the difference shows up on the dives where something is wrong.
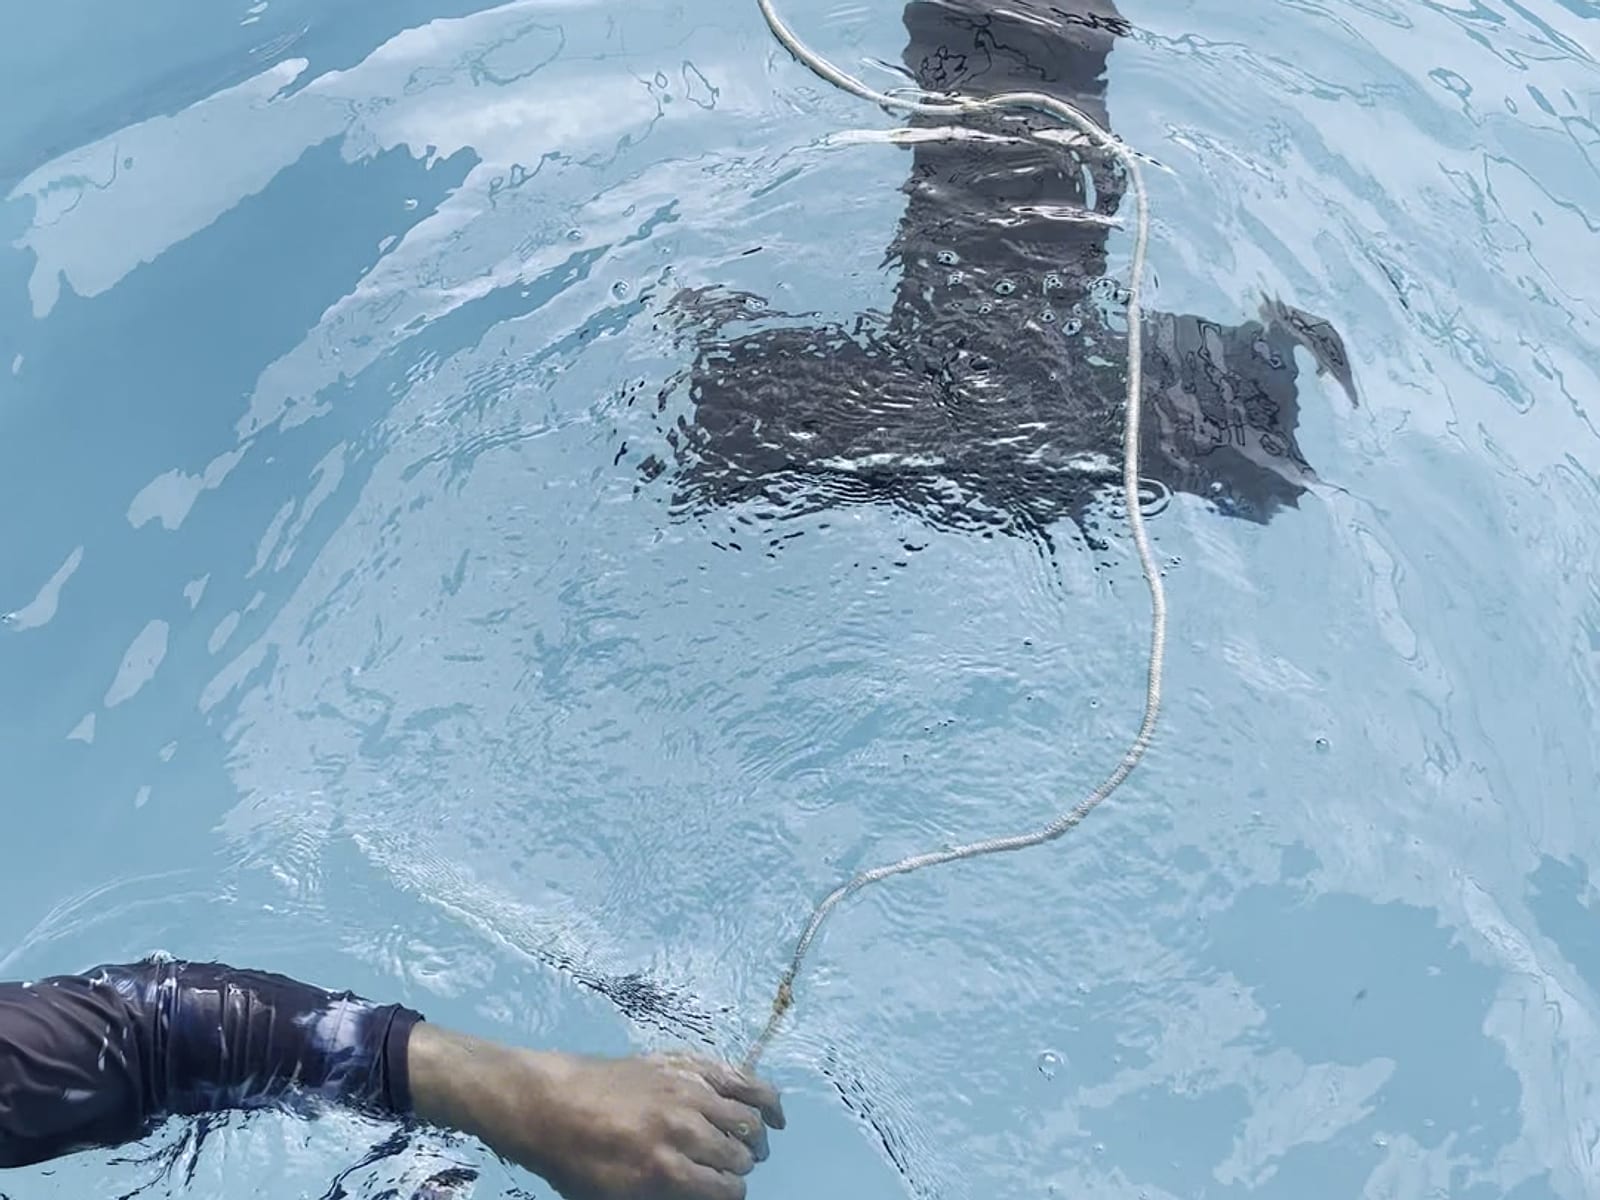
The step almost everyone skips
The hose path. Every other item on the list can be verified by looking at an object: either the battery shows a level or it does not, either the quick-connect is seated or it is not. The hose path cannot be verified that way, because it is not a property of the equipment — it is a decision about the site, and it is the decision that causes most hose incidents. Walk it. Take the thirty seconds, walk from the entry point along the route you intend to swim, and look for what the hose will pass near. Two divers walking a hose see the mooring line, the rock finger and the ladder rung that neither of them would have noticed while kitting up.
Doing it in the right order
There is a reason the unit comes first and the signals come last. If the machine will not start, nothing else matters and you have saved yourself two minutes of kitting up. If the hose path is wrong, you may want to move the entry point, which changes the hose run. Working from the surface towards the diver — unit, hose, path, kit, redundancy, signals, exit — means every decision is made before it becomes expensive to change. Doing it in the reverse order, which is what happens when the check is leaderless, ends with a diver fully kitted and a unit that will not start.
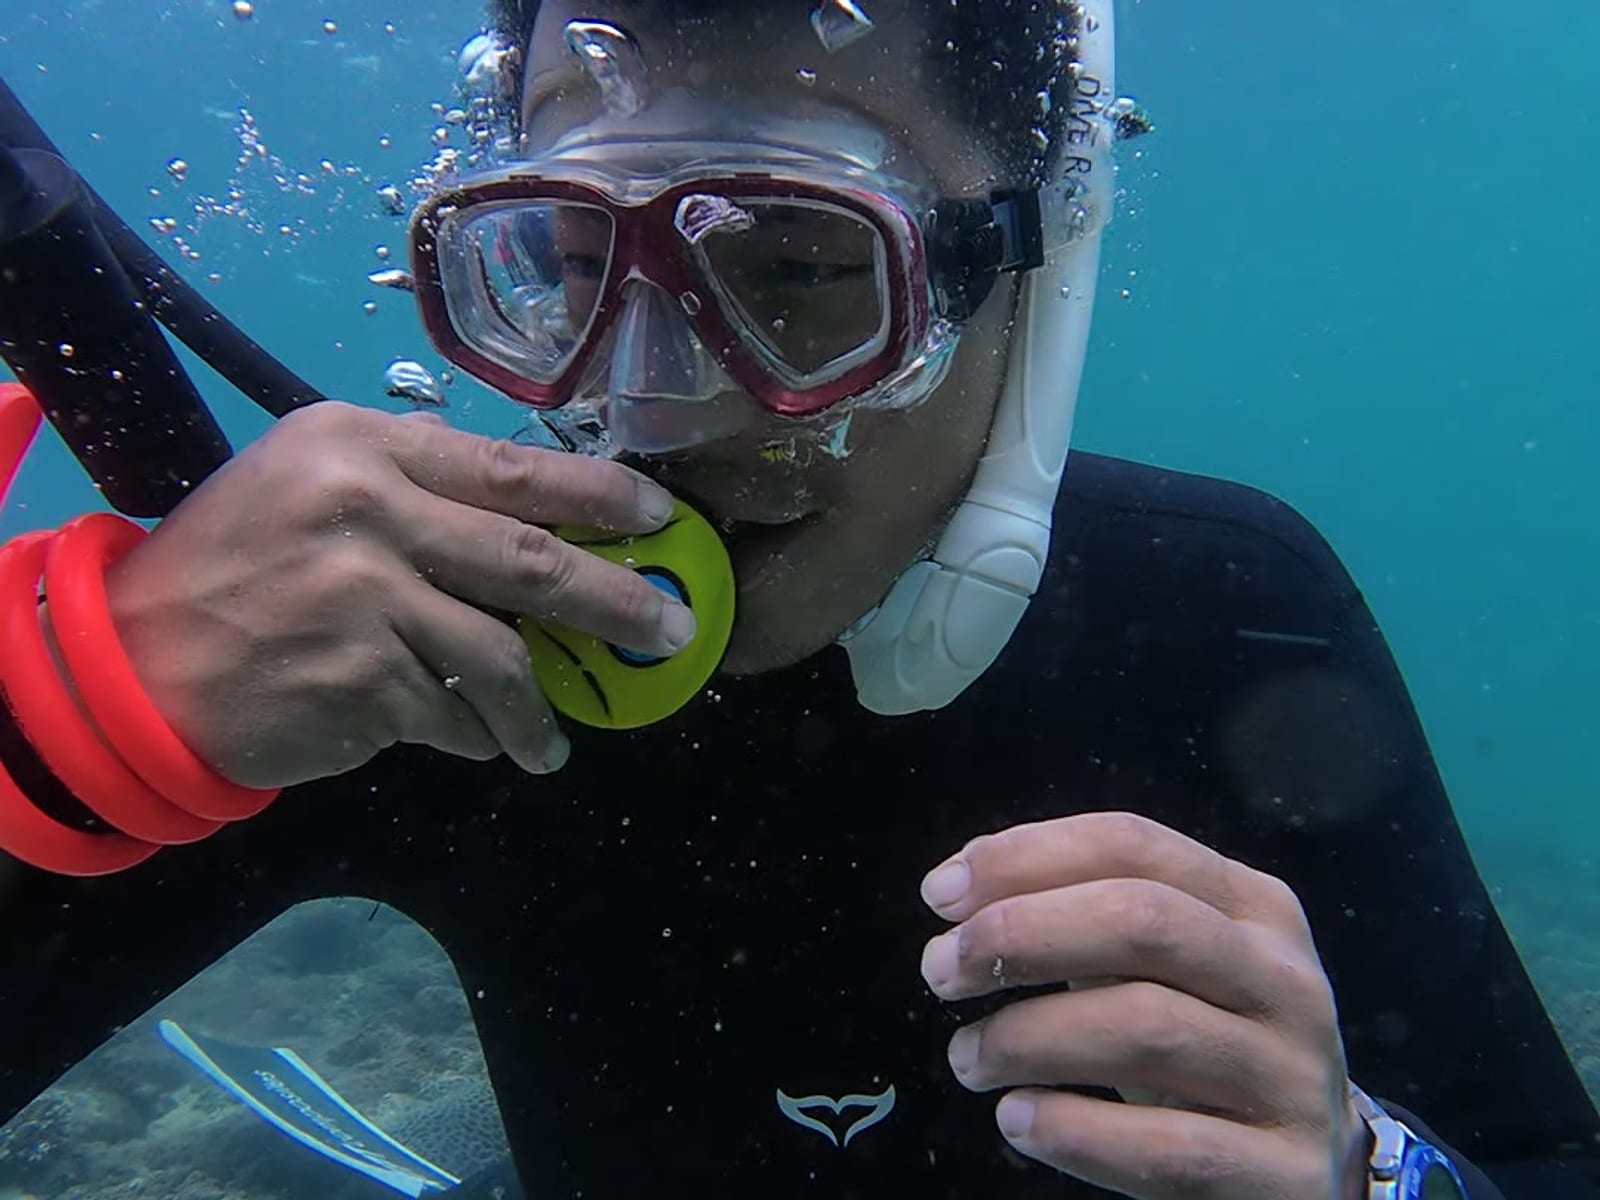
After the dive, briefly
There is a second check, and it takes ten seconds. Before the unit is switched off, confirm both divers are accounted for and on the surface, and that nothing is still in the water attached to the machine. The failure it prevents is not dramatic — it is a hose being dragged over a gunwale with the compressor still running, or a diver who has surfaced behind the float and been missed in a headcount. Neither is a story worth telling, which is precisely why the check is worth doing.
The short version
- Keep the rhythm of BWRAF but replace the cylinder items: unit, hose, harness, hose path.
- Work from the surface towards the diver: unit first, signals and exit last.
- Do it out loud with your buddy’s hands on the hardware. Self-checking is not a buddy check.
- Never skip the hose path — it is the only item that is a decision rather than a state.
- Ninety seconds on the deck, plus ten seconds at the end of the dive.
FAQ
Do I need a diving certification?
How deep can I go?
What happens if the battery runs low?
Keep reading
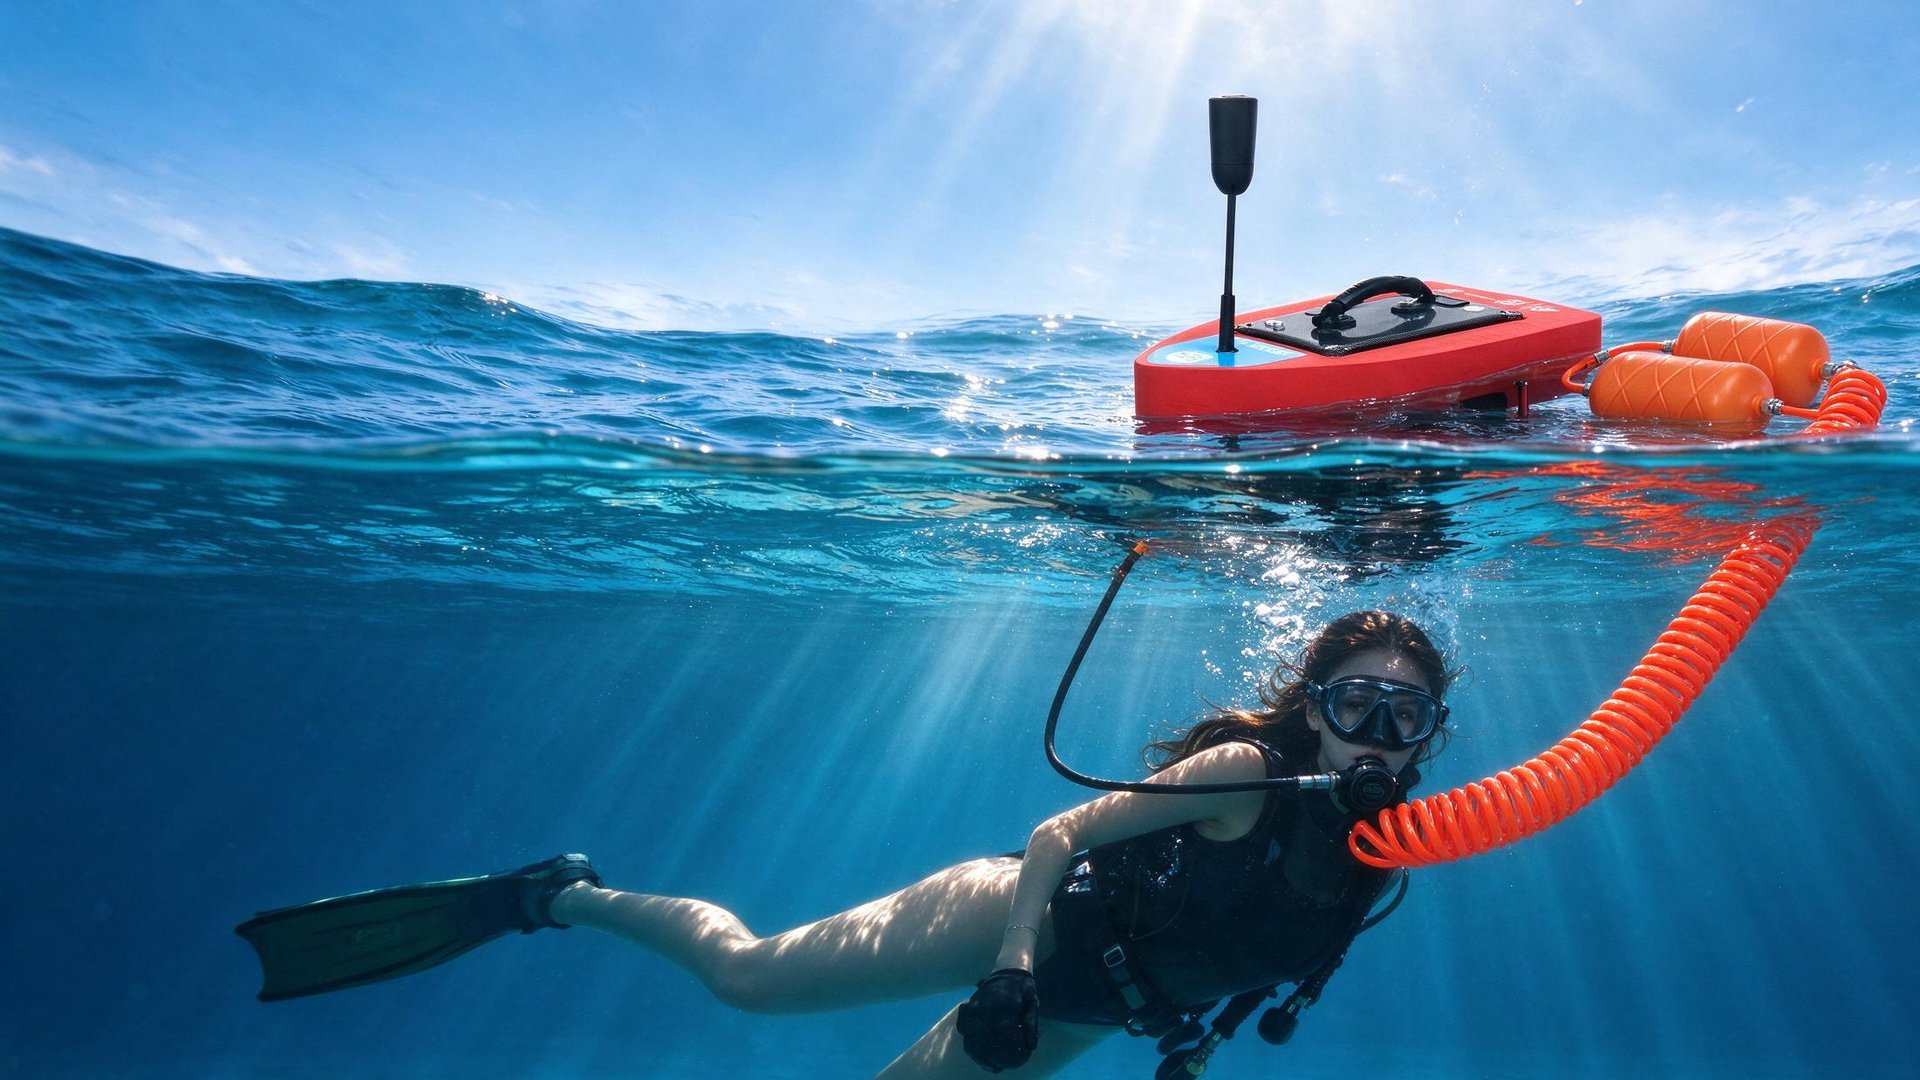
Scuba Tank vs. Tankless Hookah Diving: The Complete 2026 Comparison
Cost, bottom time, depth, safety and logistics — an honest, side-by-side look at when a surface-supply system beats a tank, and when it doesn’t.
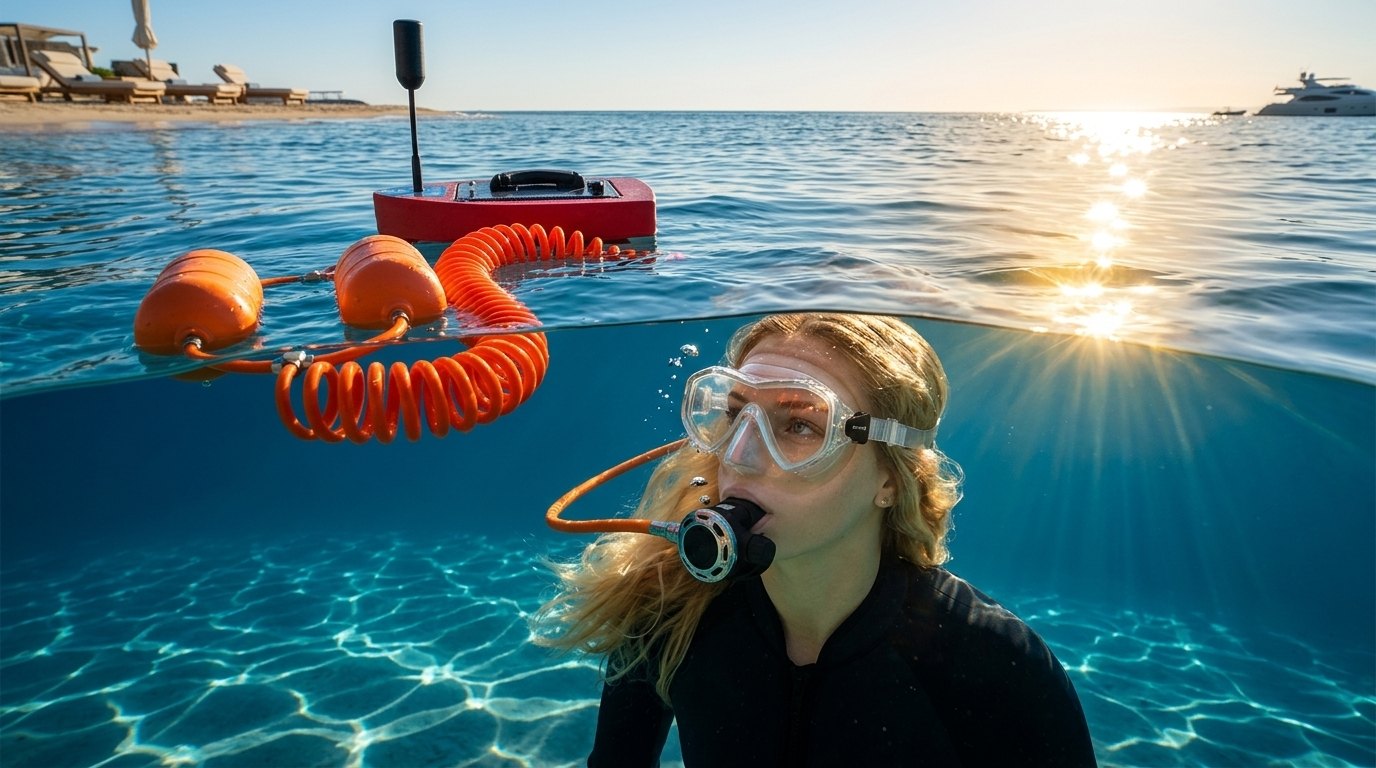
How Deep Can You Go With a Hookah Diving System?
Rated depth vs. tested depth, why hose length is not depth, and the no-decompression limits that still apply.
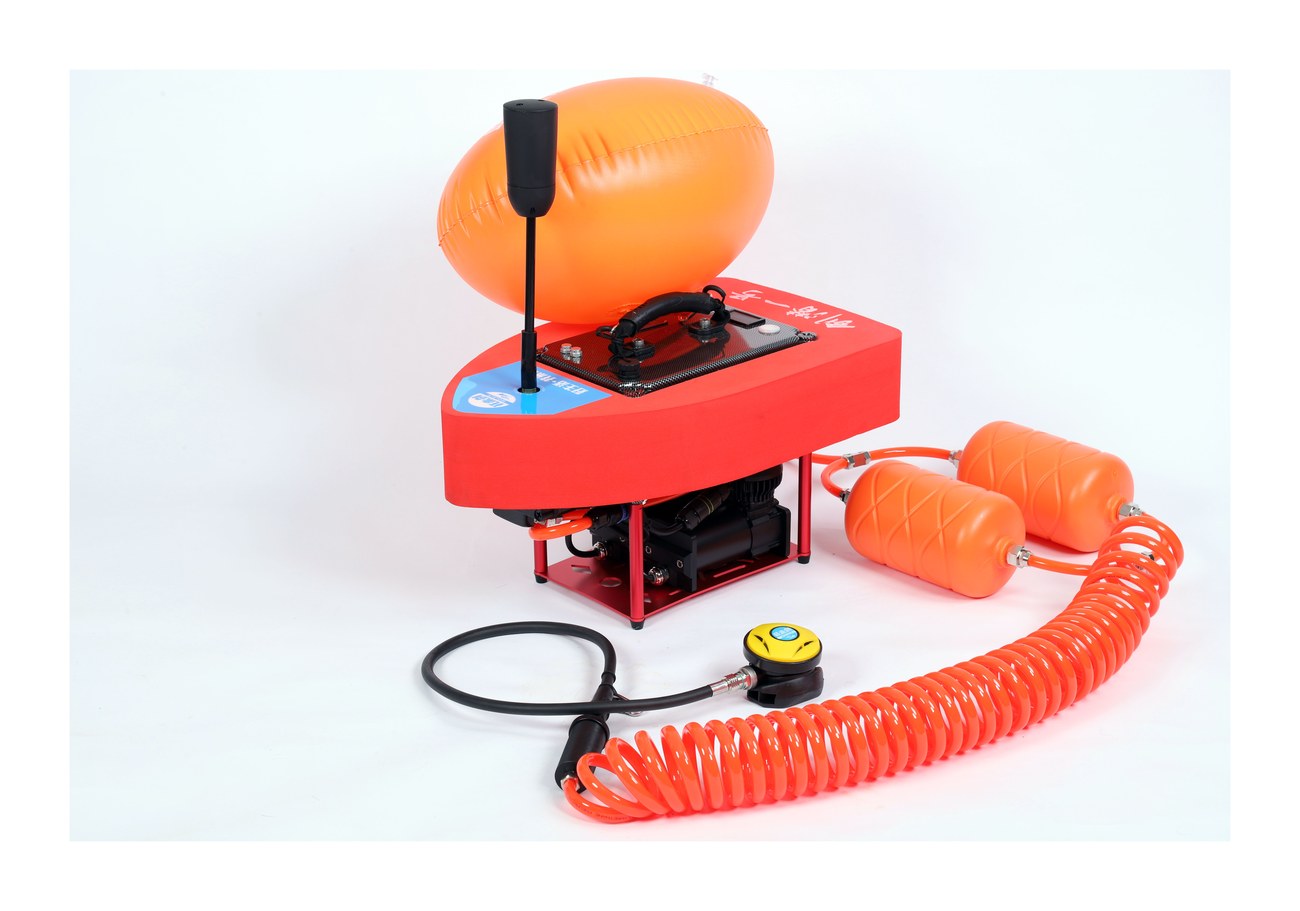
S6 vs S7 vs S9 vs S77: Which WOLACH Is Right for You?
Four models, one air path. Pick by how deep and how long you actually dive — the differences that matter are runtime, delivery and hose length, not features.