Setting Up the Dive Boat: The Remote, the Rigging and Packing It Down
Two videos shot in one afternoon indoors, and between them they cover the whole working life of a small powered dive platform — how the remote actually drives it, how the machines are rigged on, and the two-minute pack-down afterwards.
Nothing in these two videos happens in the water. Both were shot indoors on the same afternoon, while a powered platform was being assembled, explained and then folded back up — and that turns out to be the right order to learn it in. The parts that decide whether a dive day goes smoothly are all decided on land: whether the remote is charged and where it is going to hang, whether the machines are rigged so they cannot shift, and how long it takes to pack up when everyone is tired.
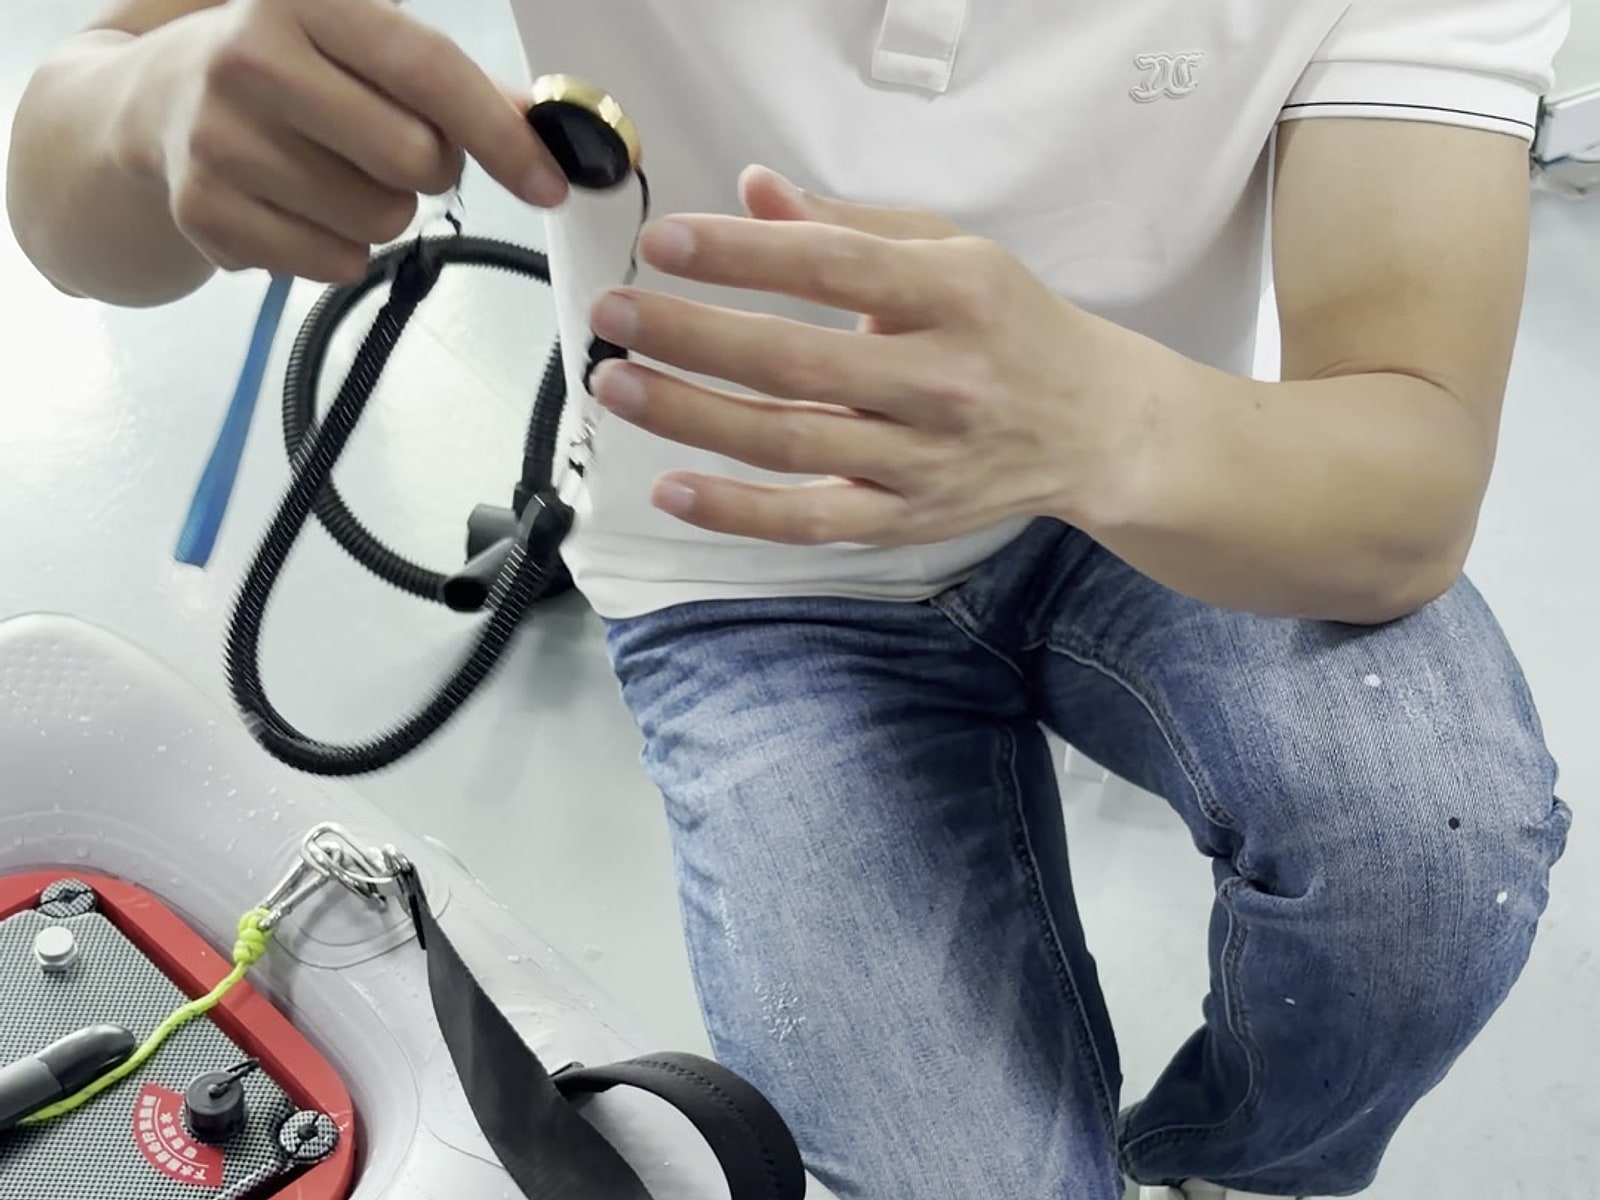
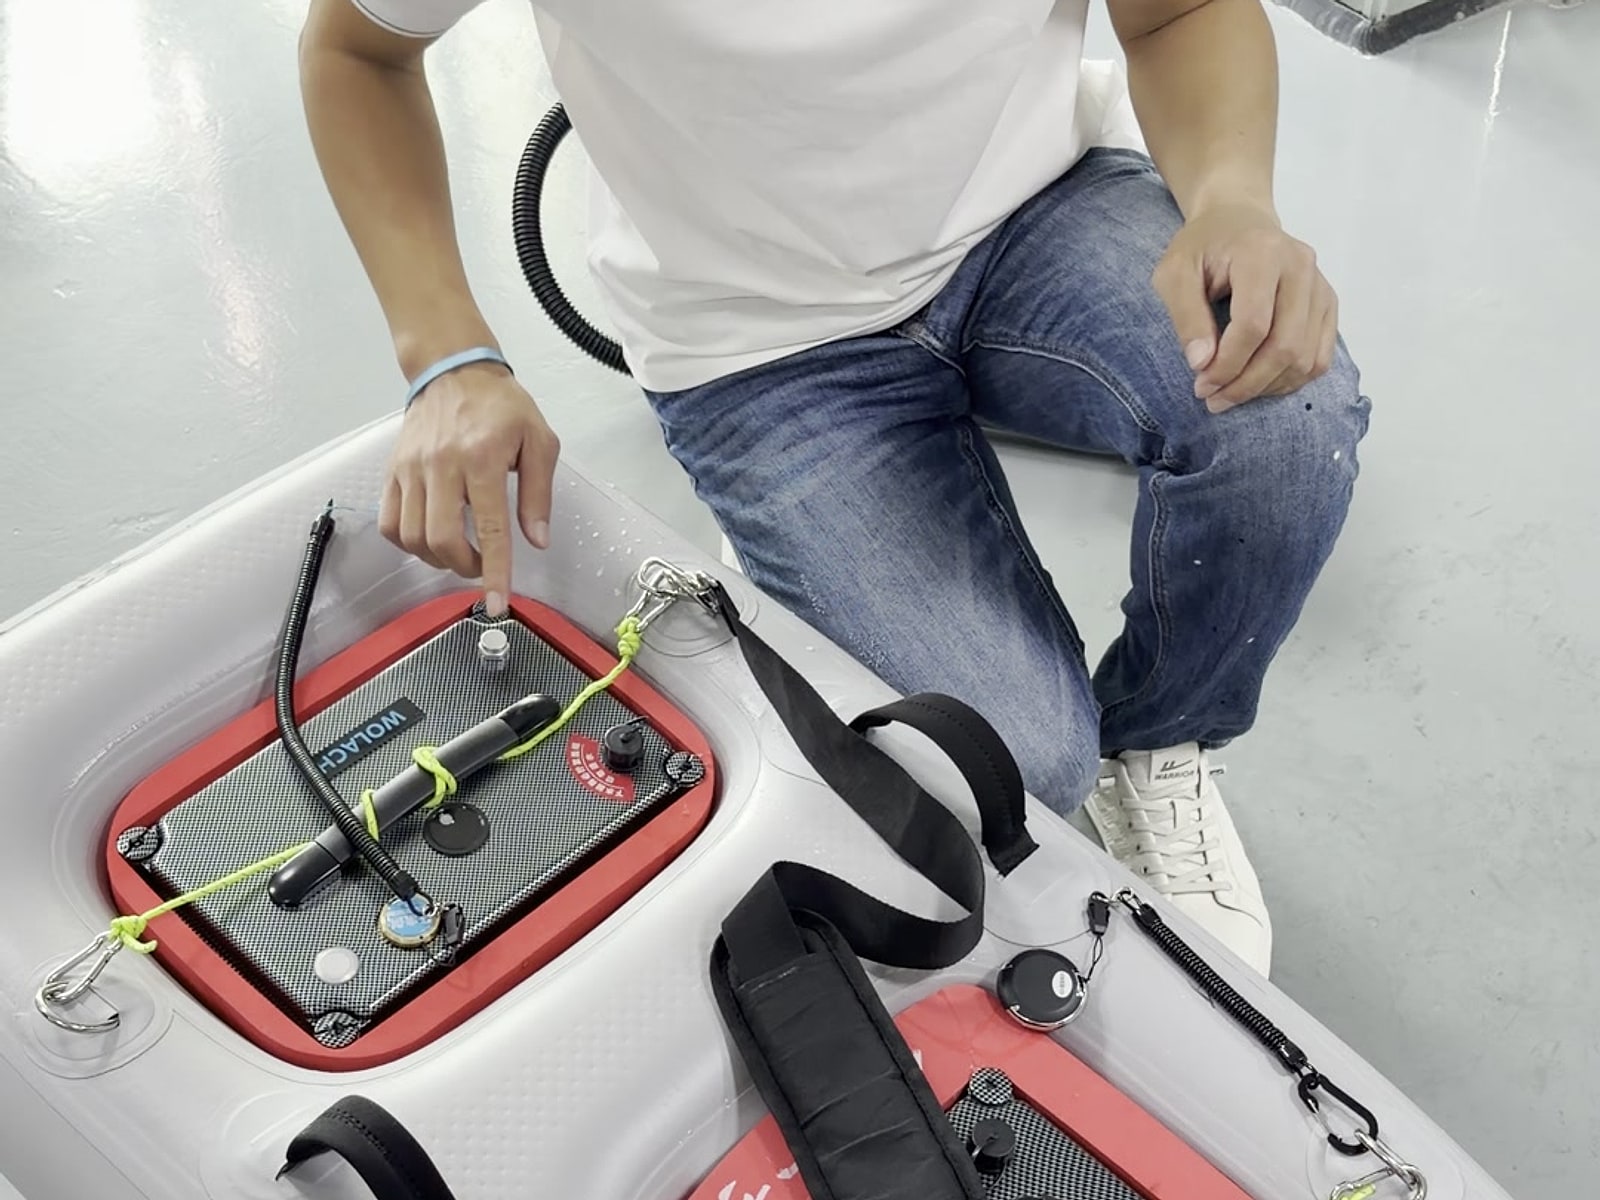
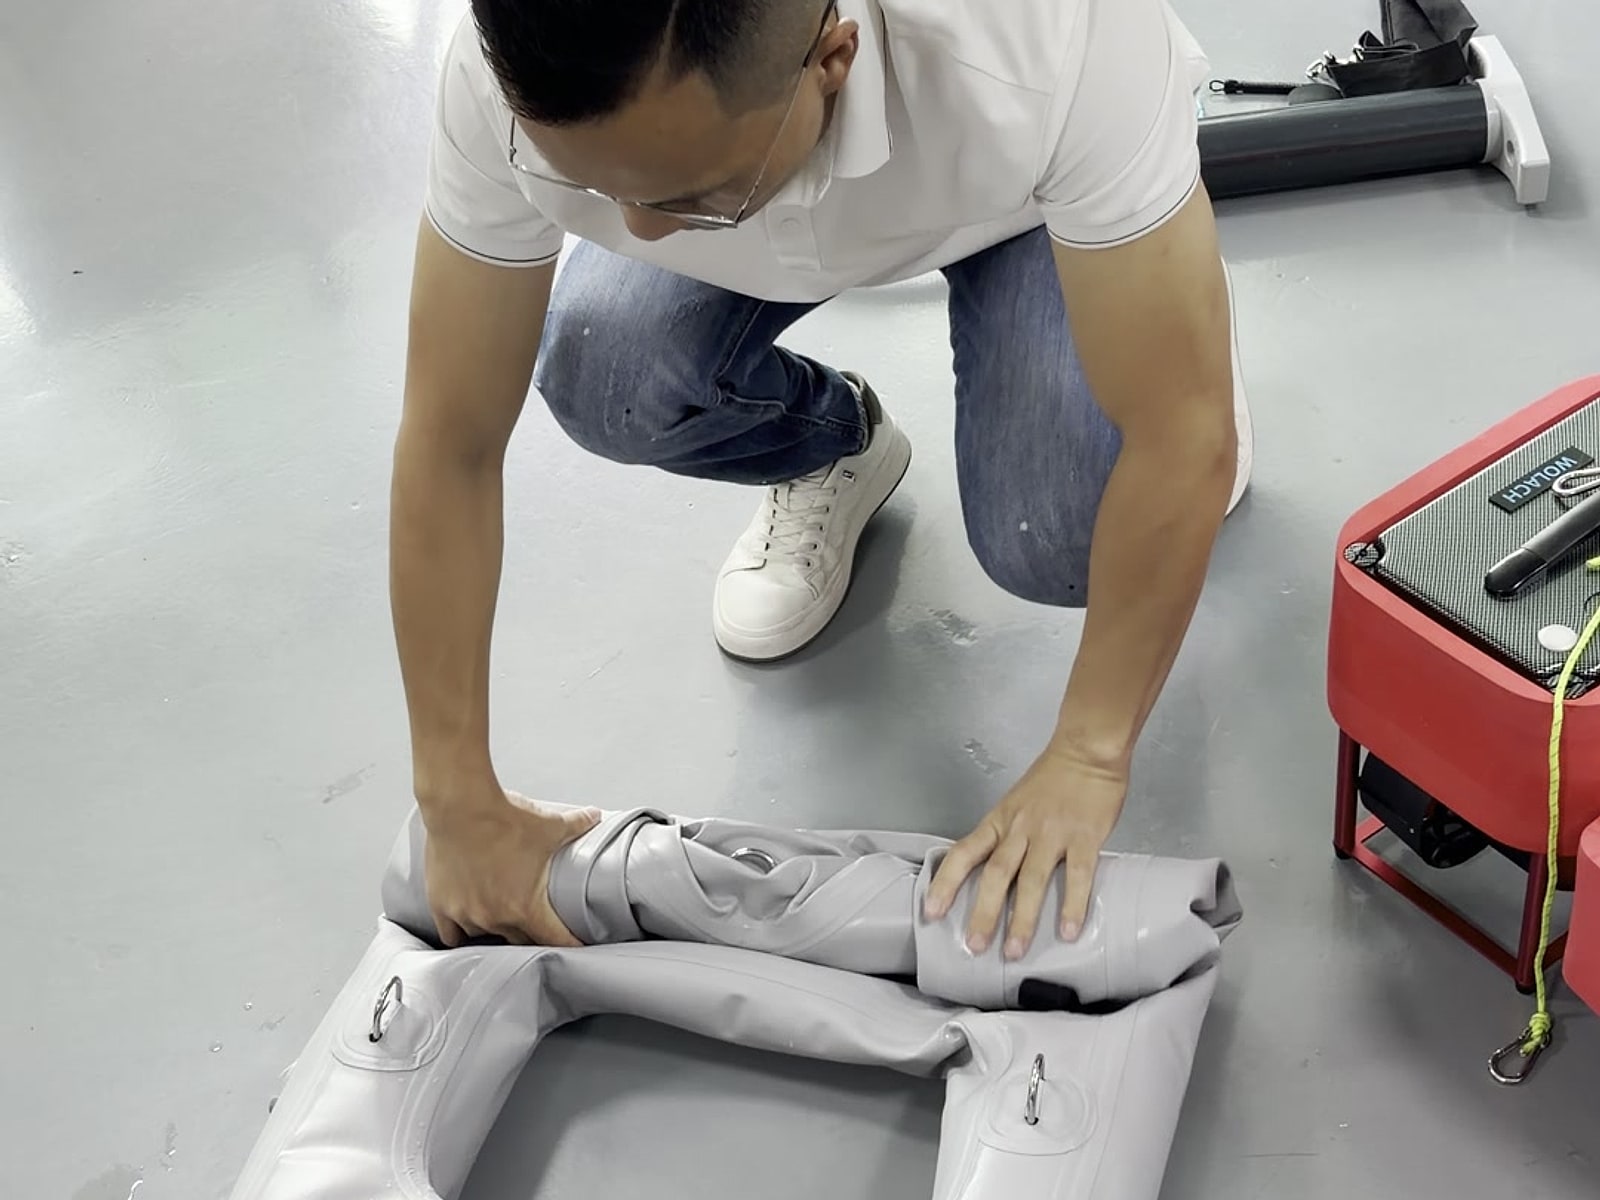
These images are from one afternoon in the workshop, split across two camera passes. The first half is the walkthrough: a person in a white shirt handling the round remote, checking a hose fitting at the front of the board, and pointing out the battery compartment and the straps. The second half is the pack-down, shot on a grey floor as the inflatable is folded and the equipment box gets packed alongside it. No water, no boat ramp, no dive — just the platform and the hands that operate it.
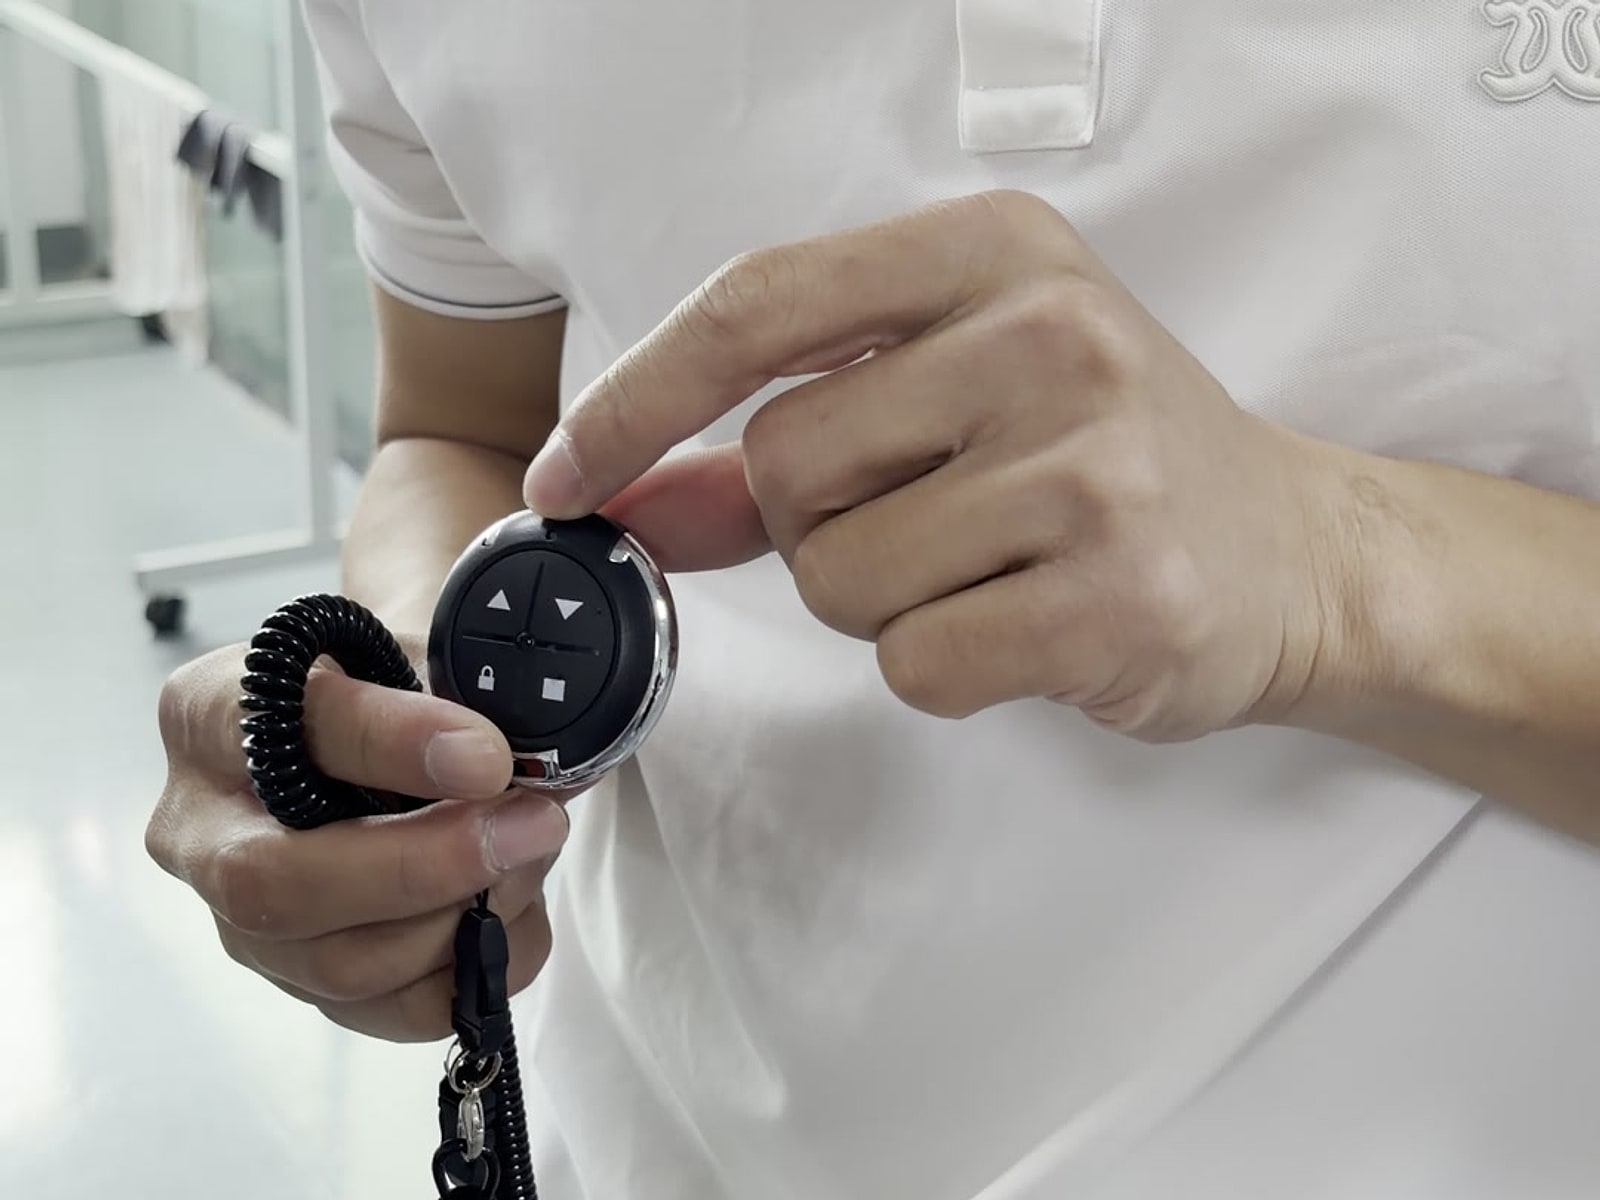
The remote is four speeds and a stop key
The control scheme is deliberately simple, and it is worth learning before the platform is ever in the water. Forward has four steps: press once for the first speed, twice for the second, three times for the third, four for the fourth. Stopping is its own key — the square one — rather than a fifth press of the same button. To come back down through the speeds you press the forward side again: four drops to three, three to two, two to one, one to zero. Reverse sits beyond zero, and it engages from a standstill rather than while moving. There is also a lock key, which exists for storage and transport rather than for diving, and can otherwise be ignored.
What the handset actually does
- Forward: one press per step, four steps available
- Stop: the square key, independent of the speed key
- Down-shift: the same key takes you back down one step at a time
- Reverse: available from a standstill, and used rarely in practice
- Lock key: for storage and transport, not for diving
- The remote travels in a dry bag and hangs on the body — never on the wrist
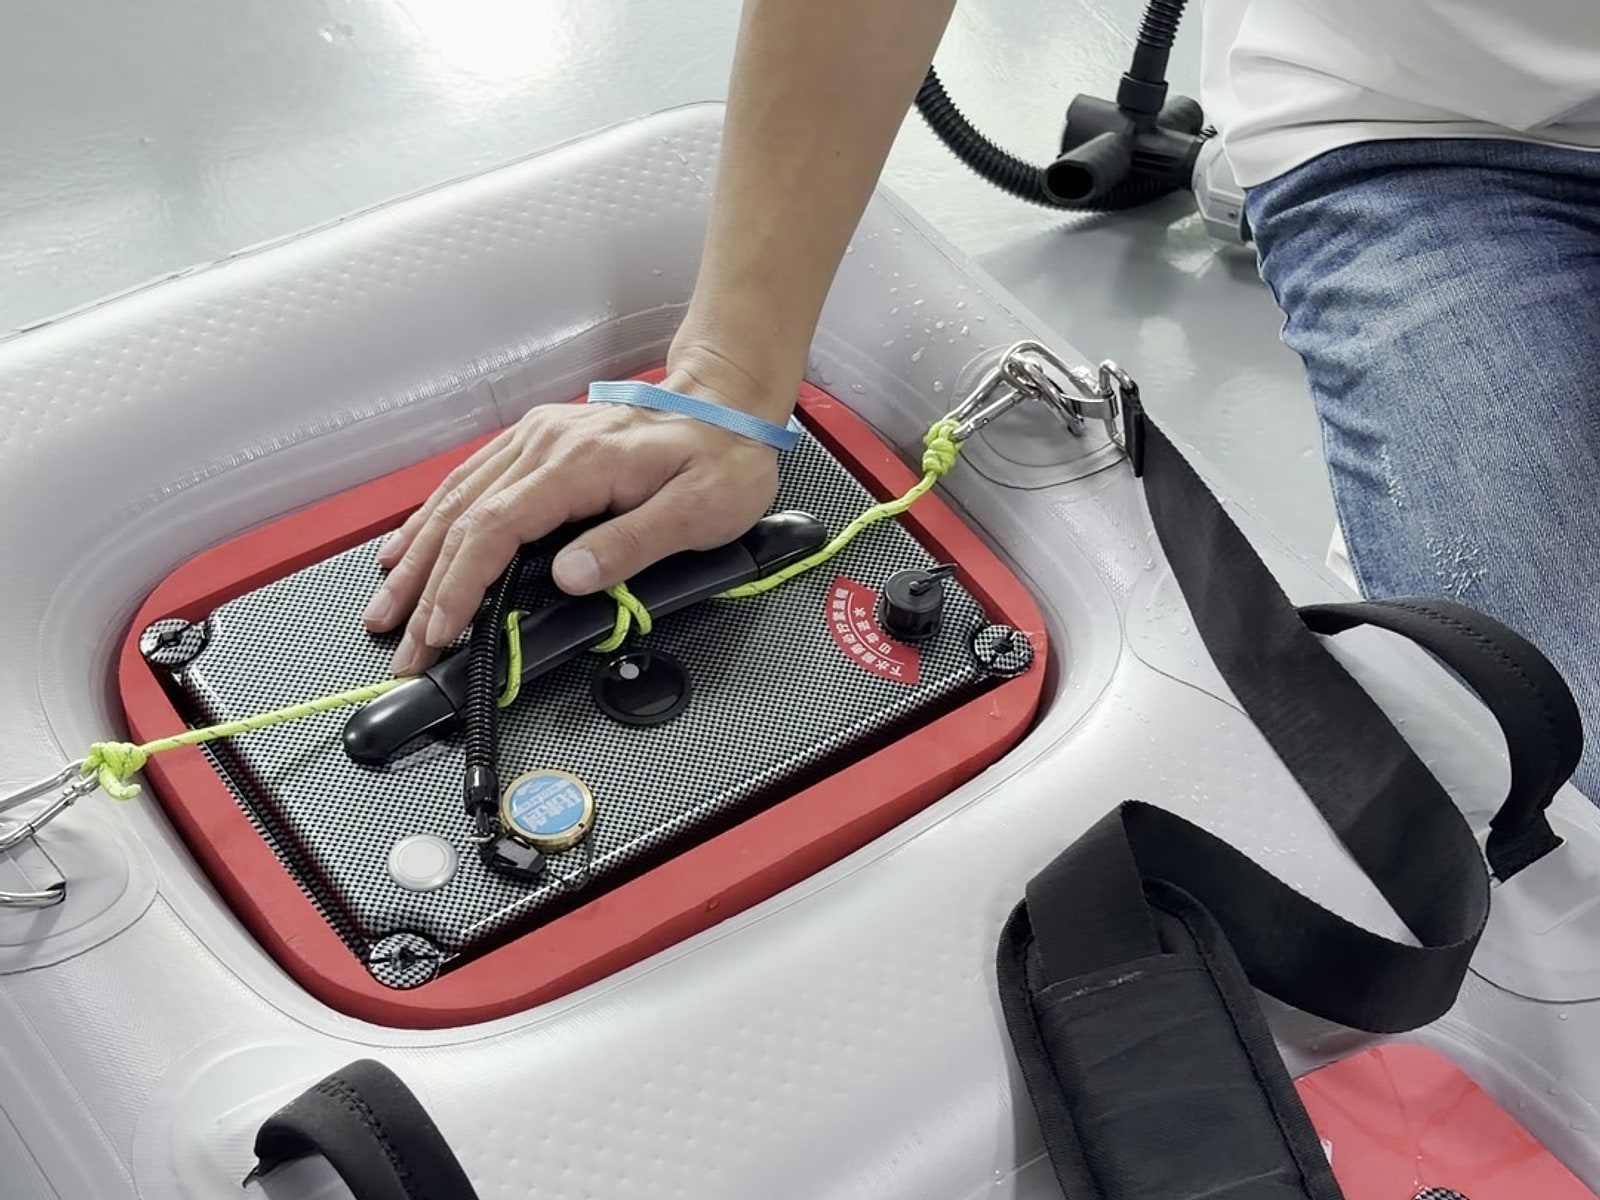
The remote does not go under water
This is the one instruction in the footage that gets stated twice, and it is the one most likely to be ignored out of habit. The remote is water-resistant in the ordinary sense, not waterproof. It travels in a dry bag, it hangs on the body while the platform is running, and it does not come down with you when you descend. A diver who has spent years carrying a computer on the wrist will instinctively want to take it along; on this system the handset stays at the surface. That single habit is worth rehearsing before the first dive, because underwater is the one place it cannot be recovered from.
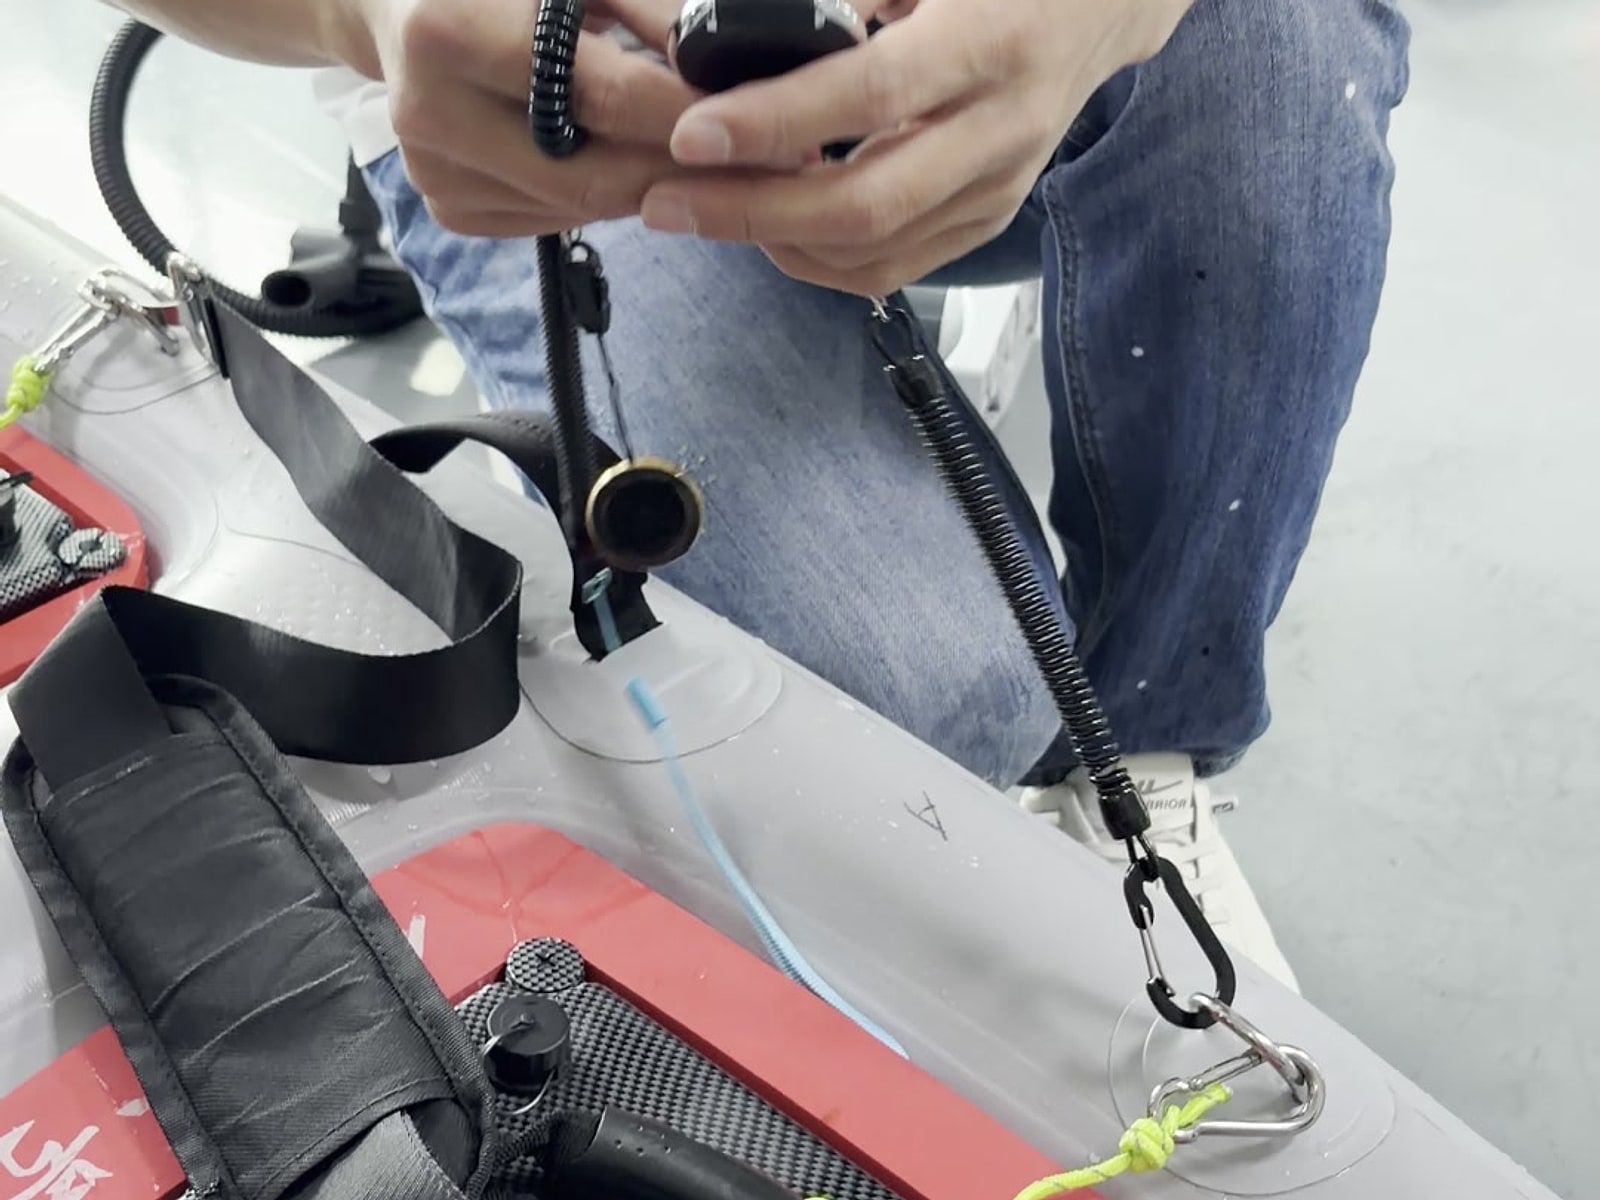
Rigging the machines so they cannot shift
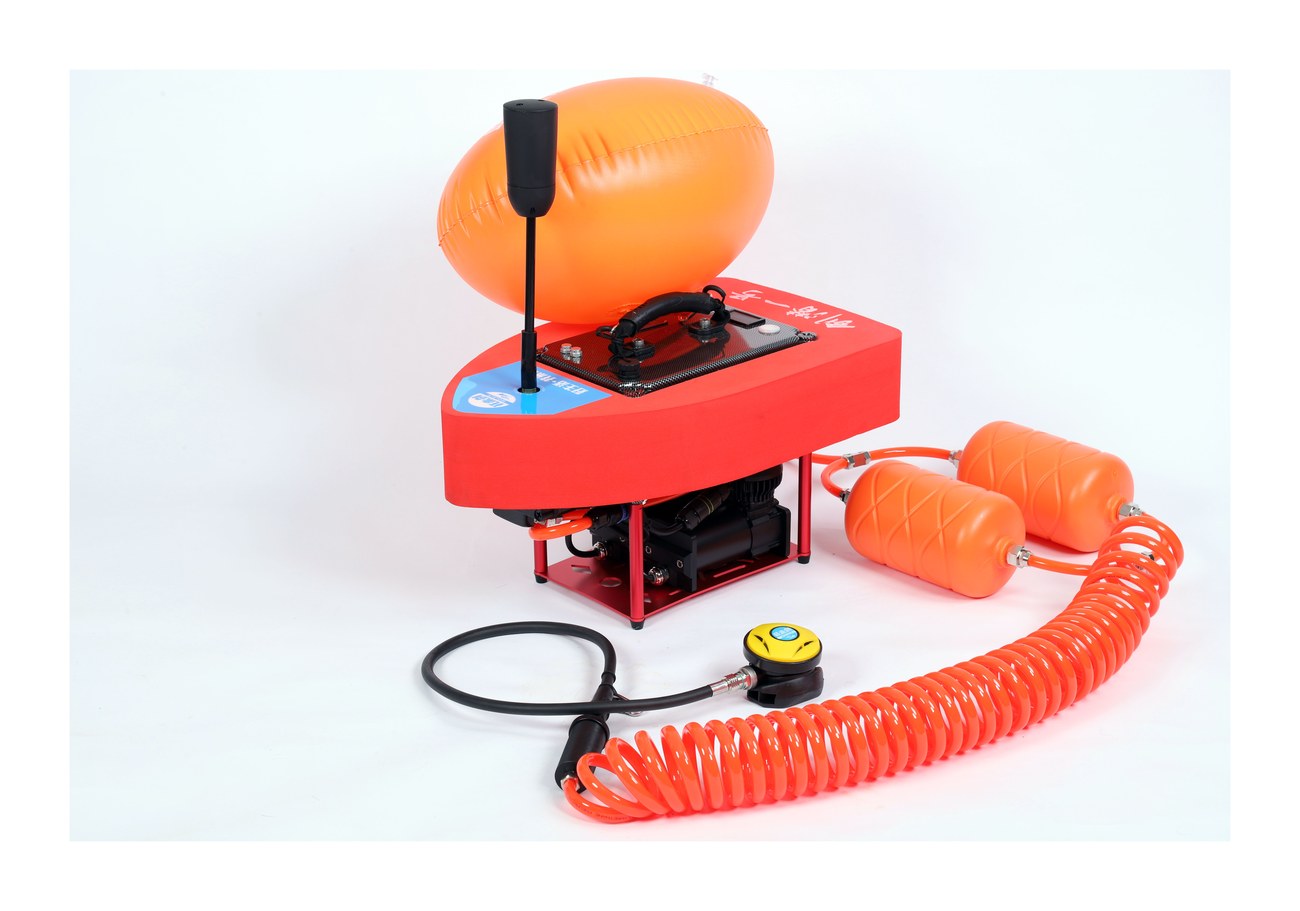
The machines ride on the board on nylon straps with metal buckles, with a coiled lanyard and a magnetic switch as a second line of attachment. In the footage the magnetic switch is described as something that goes on the hand or the waist rather than the wrist, which puts the release somewhere it can be found without looking. None of it is complicated, but all of it is worth doing in daylight and in the same order every time — that is what makes it repeatable later, on a deck that is moving.
Packing down takes about two minutes
The deflation method shown in the second video is worth copying exactly, because doing it the other way leaves a partly inflated platform to wrestle with. Open the valve and press it in: that dumps air quickly but stops as soon as you let go. For a steady, hands-free deflation, press the valve in and turn it a small amount clockwise — now it keeps venting on its own. Then unhook the clips, lift the machines off, and fold the platform while the air is still escaping. The footage makes the point that the folded platform can be carried on the back, on the shoulder or simply in one hand, and that it goes into a car without the bulk that larger rigid platforms bring.
The sequence, in the order the videos show it
- Remote charged, in the dry bag, hanging on the body — not the wrist
- Hose fitting at the front of the board checked before power-up
- Machines strapped down; lanyard and magnetic switch attached to the operator
- Valve pressed and turned clockwise for hands-free deflation
- Clips released, machines lifted off, platform folded while still venting
- Everything back into the box in the same order each time — that is what makes it quick
FAQ
Do I need a diving certification?
How deep can I go?
What happens if the battery runs low?
Keep reading
What's in the Box: Unboxing a WOLACH System
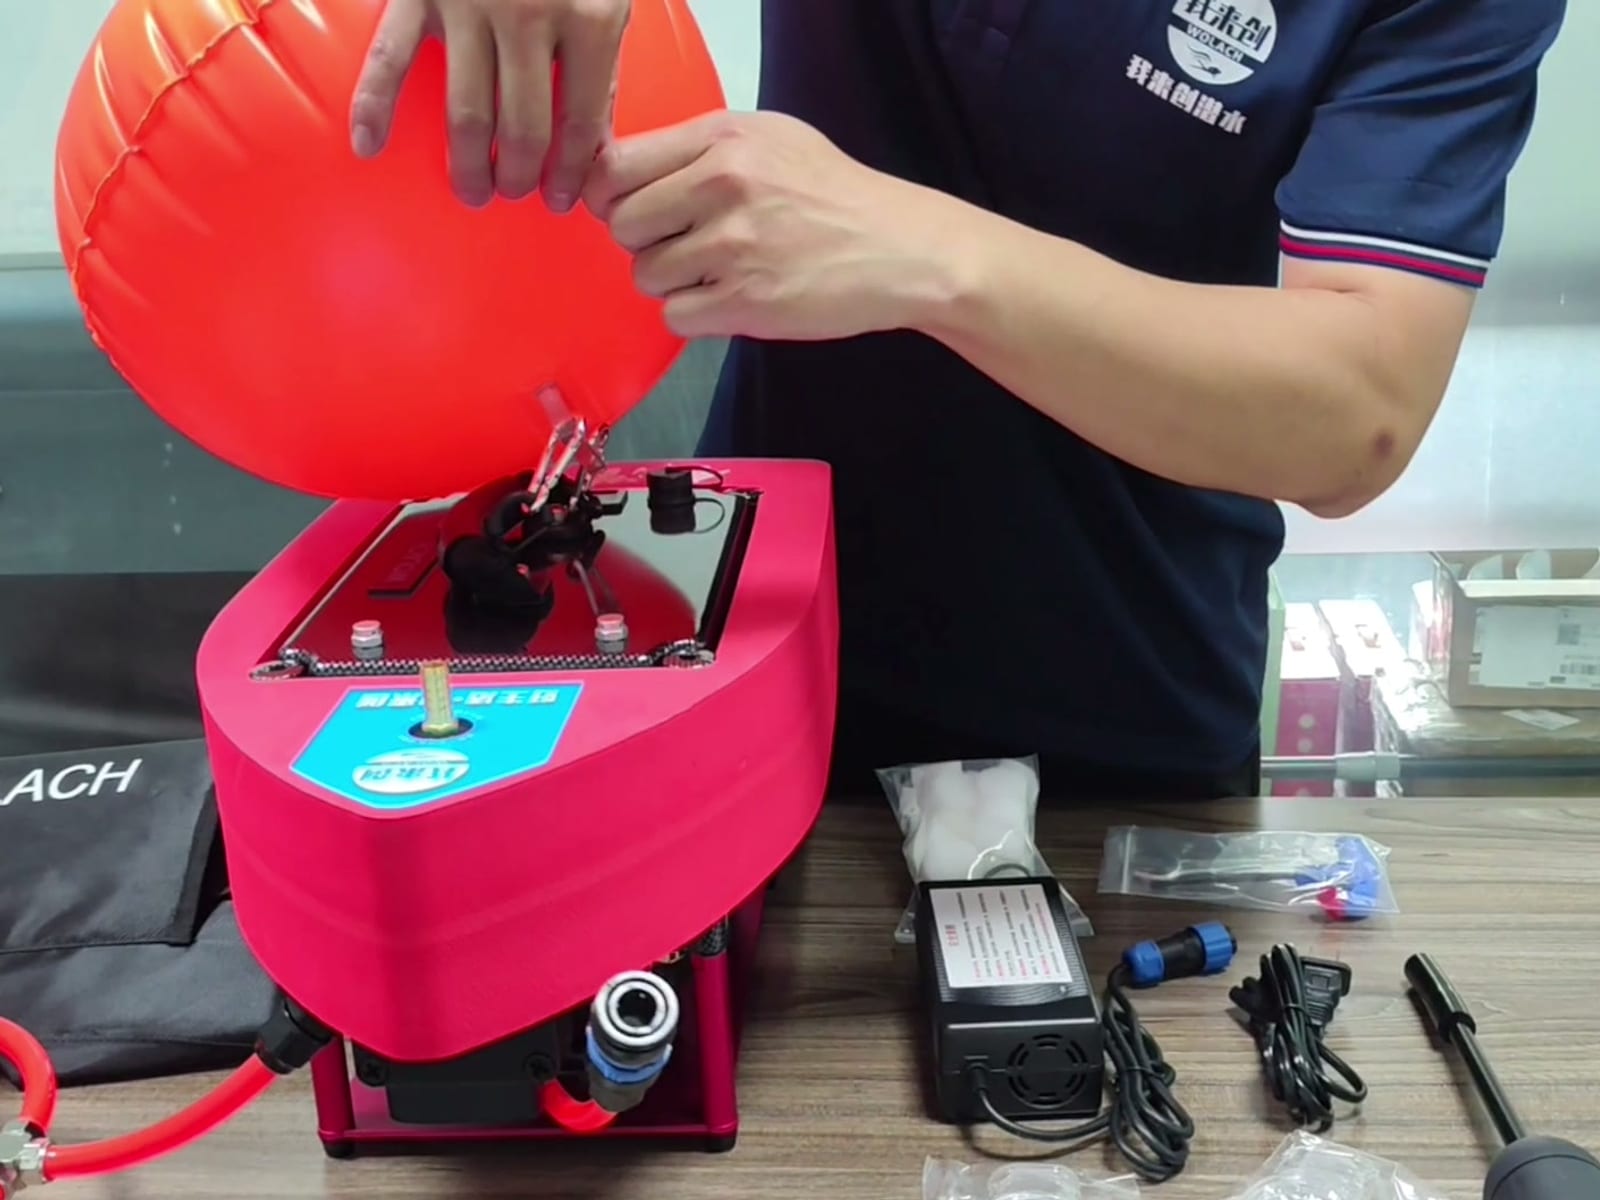
One carton, one complete gear package, no optional extras to buy before your first dive. What arrives, what to check first, and the two questions every new owner asks.
Fitting and Swapping the Spare-Air Cylinder
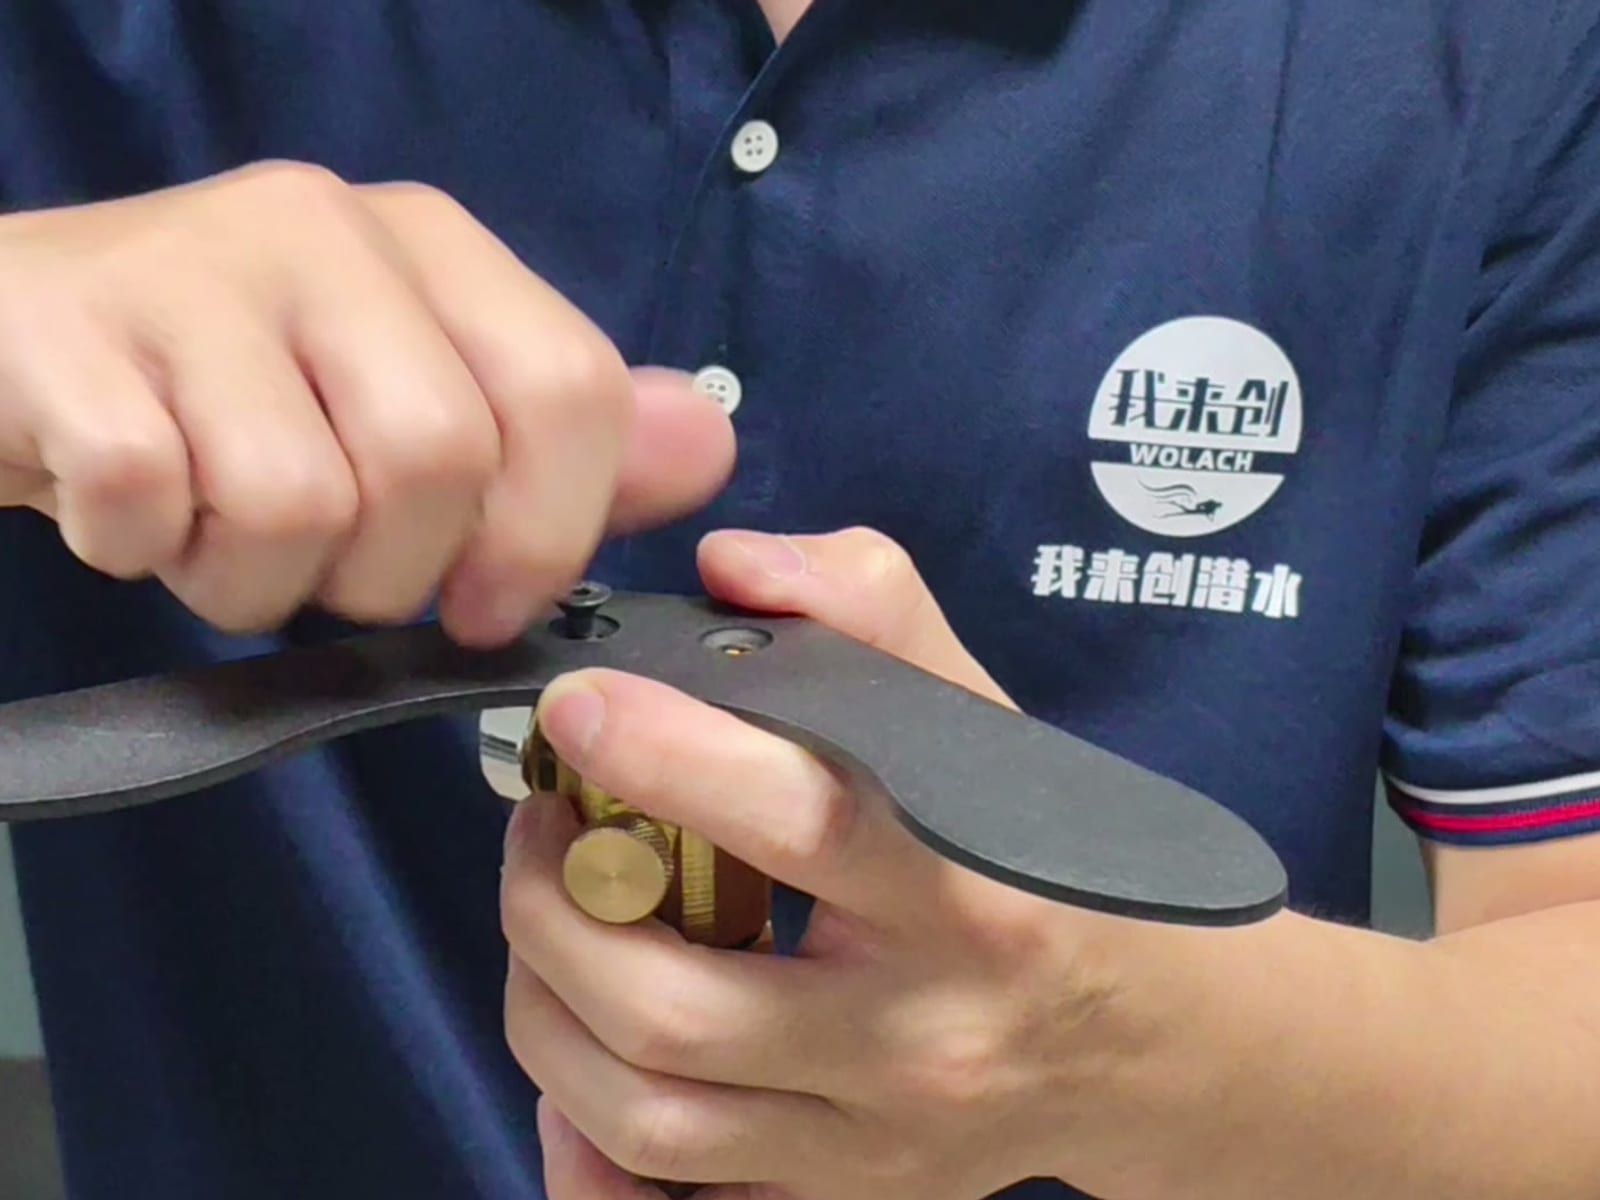
The bottle is the one accessory we recommend to every owner, including people who only dive in pools. How it mounts, when to swap it, and the O-ring that fails quietly.
S6 vs S7 vs S9 vs S77: Which WOLACH Is Right for You?
Four machines, one air path, three numbers that decide it. How to pick by the diving you actually do rather than the depth rating you aspire to.